SVG uploads are not allowed in WordPress due to Security Issues as per article here.
For Global Markers Settings
1. Upload svg markers into both superstorefinder-wp/images/icons and /wp-content/uploads/ssf-wp-uploads/images/icons/ folder (Make sure the svg icon width and height is the same as png file 38×58, refer to the end of this article on how to edit SVG map pin via editing svg file)
i.e map-pin.svg and map-pin-active.svg
2. Edit ssf-wp-functions.php search for keywords
a. map-pin.png and change it to map-pin.svg
b. map-pin-active.png change it to map-pin-active.svg
Once edited, save and upload the file.
3. Make sure at admin settings page there’s no custom marker being uploaded
4. Clear browser cache and refresh to test.
For Custom Category Markers Add-on
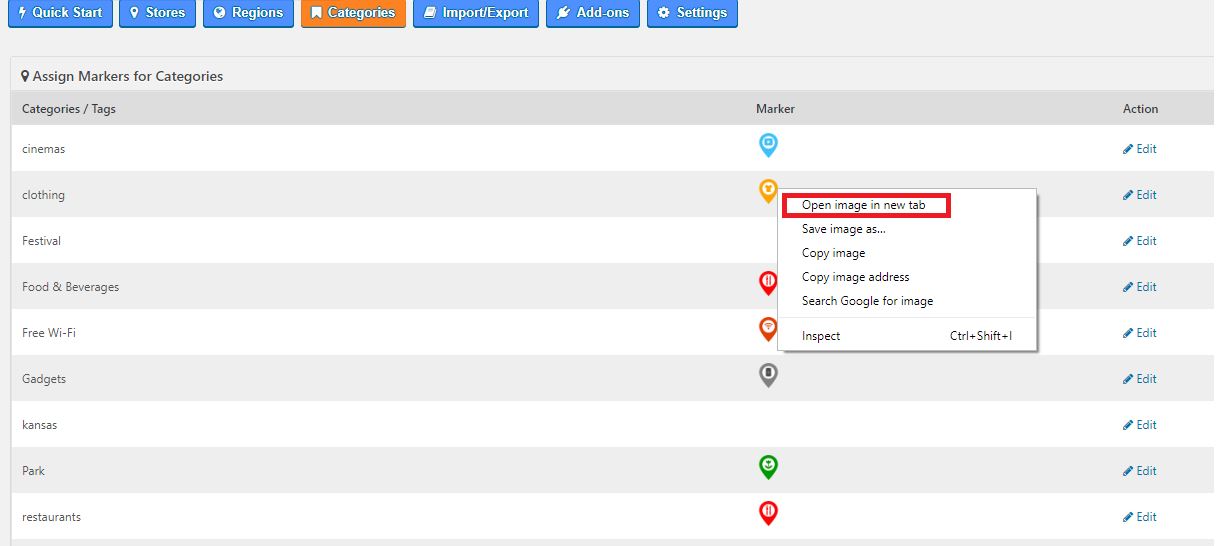
If you’re using the Custom Category Markers add-on, you may need to upload normal images first, then, at the WP Admin > Super Store Finder > Categories page , right click the marker image and Open image in a new tab.
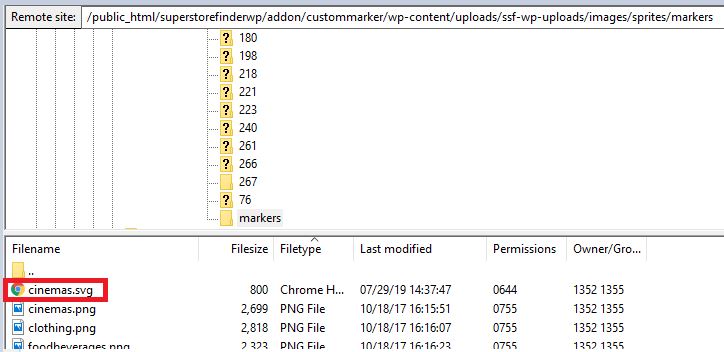
The image path will be something like /wp-content/uploads/ssf-wp-uploads/images/sprites/markers/markerimage.png
Go to FTP and upload your SVG marker in the same path i.e markerimage.svg
Then, edit wp-content/plugins/superstorefinder-wp/ssf-wp-xml.php and wp-content/plugins/superstorefinder-wp/ssf-wp-json.php search for keyword
.png
replace all to
.svg
Save and upload the file. Clear browser cache and refresh the markers should be showing svg files now.
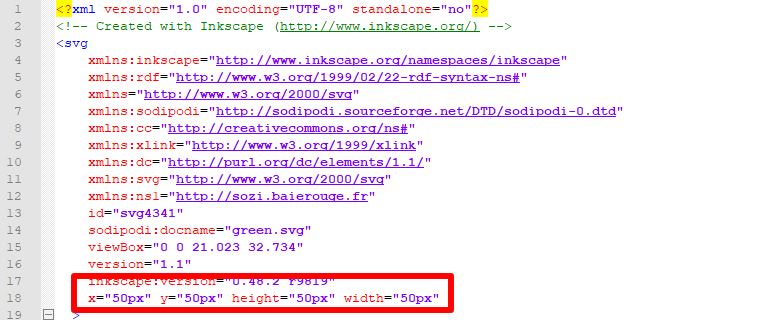
x="50px" y="50px" height="50px" width="50px"
Once, you’ve made the necessary changes and save the files, you can reupload the SVG files via FTP.
Users who have LIKED this post:


